Let’s send Your first Request
Let’s guide you through making your first HTTP request. This page will help you create, send, and understand requests quickly. Follow along with the steps below, and feel free to refer to the screenshots provided to make the process even easier.
Creating a New Request
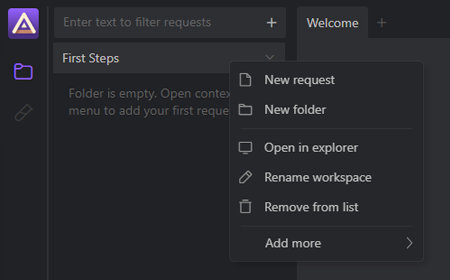
You can create a new request in RestApia in two ways:


Define the Request Details
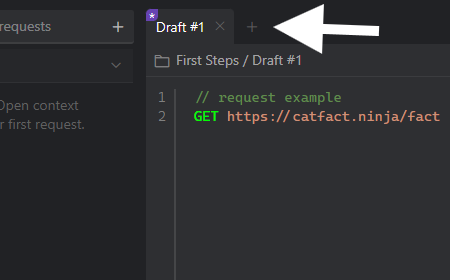
After creating a new request, you need to define the details of the request. Here is an example:
Check out syntax documentation here
Hit the Send Button
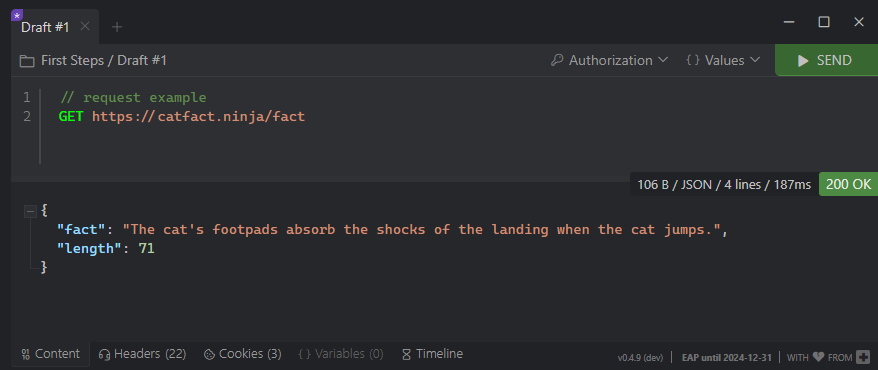
Simply click the Send button located at the top right of the request editor. RestApia will process your request and display the response in the response pane below.
Once you hit Send, the response from the server will be displayed in the Response Pane. Here you will see important details like the status code, headers, cookies, and the body of the response.

Save Changes to Your Workspace
Unsaved request changes are indicated by an asterisk (*) on the tab in the tab panel. To save a request, you can press Ctrl+S, use the context menu in the editor, or the context menu on the tab panel. If the request is a draft, RestApia will prompt you to provide details on where to save it.
